During Easter, the Easter Bunny always makes a visit to our house. I’ll be honest, though, my kids have plenty of toys and candy so that was not what we wanted them to be getting this year, so they got clothes. I know, clothes? Boring! At least for kids, that is, so to jazz it up they were wrapped fun.
I wanted the wrapping job to scream EASTER! I also wanted the kids to get excited when they saw it, so I didn’t feel that just putting clothes in a basket would work. That is when I referred to my trusty Pinterest account to get some inspiration, and I was proud of what I was able to come up with after looking at what other people have done in the past.
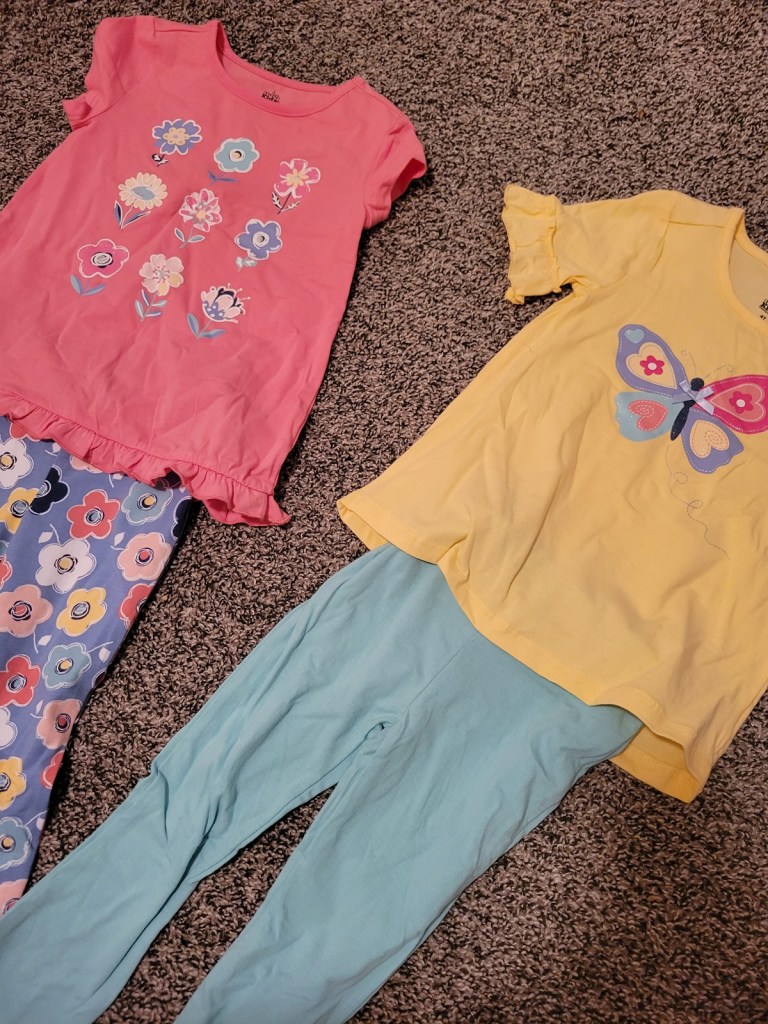
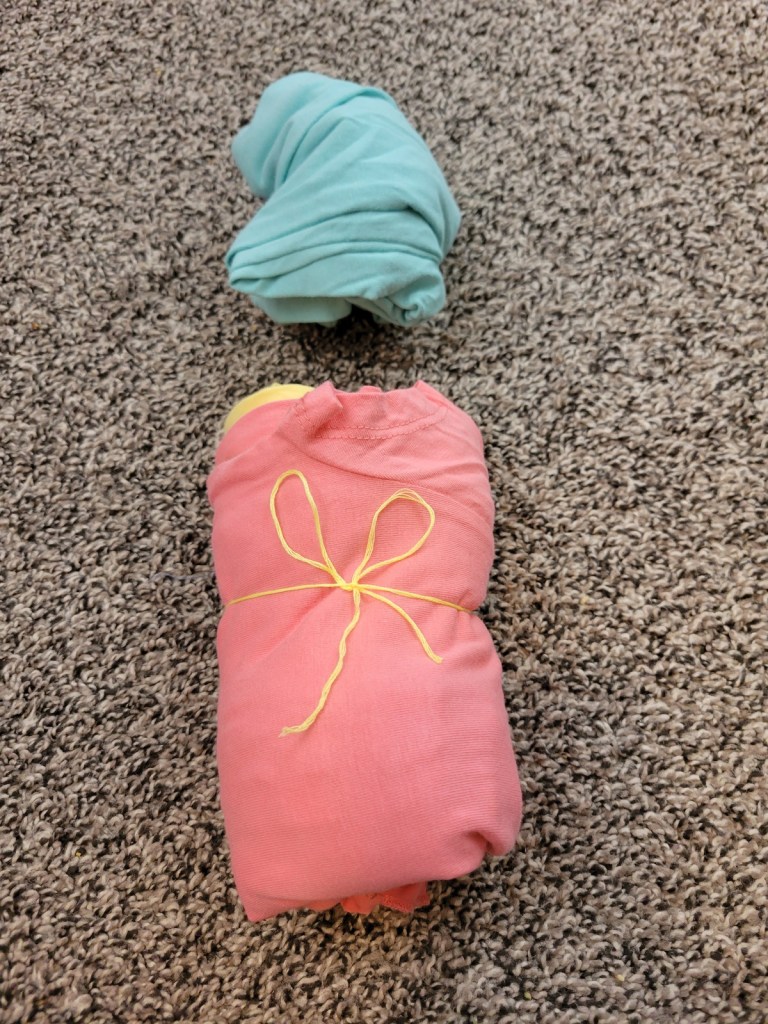
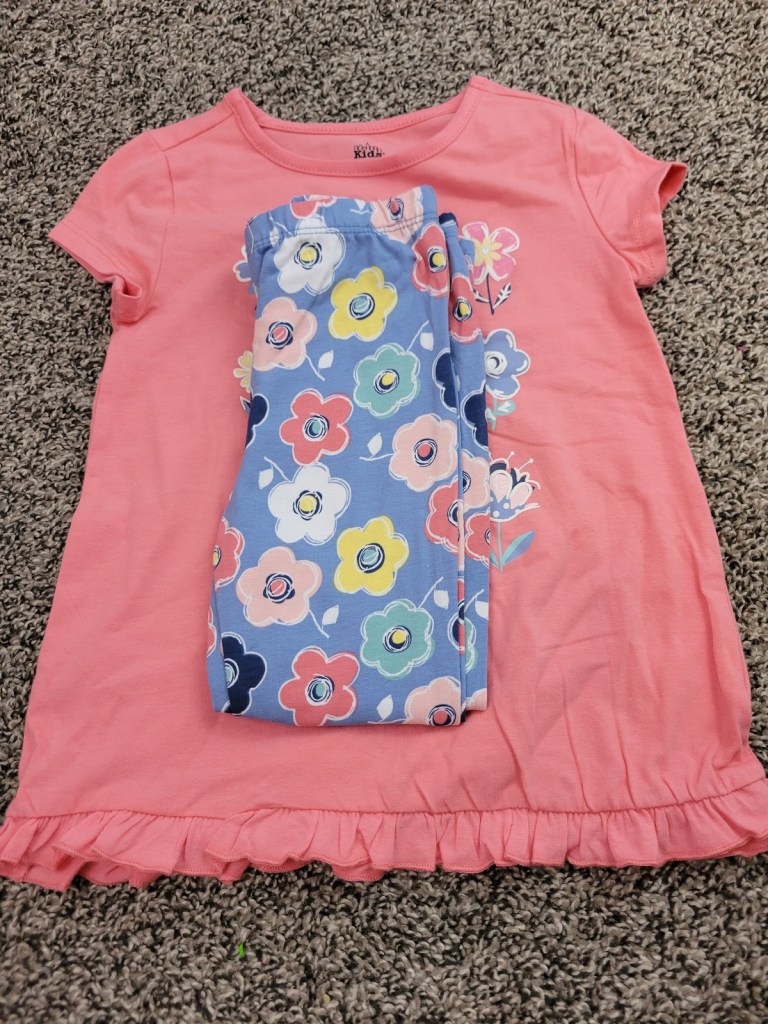
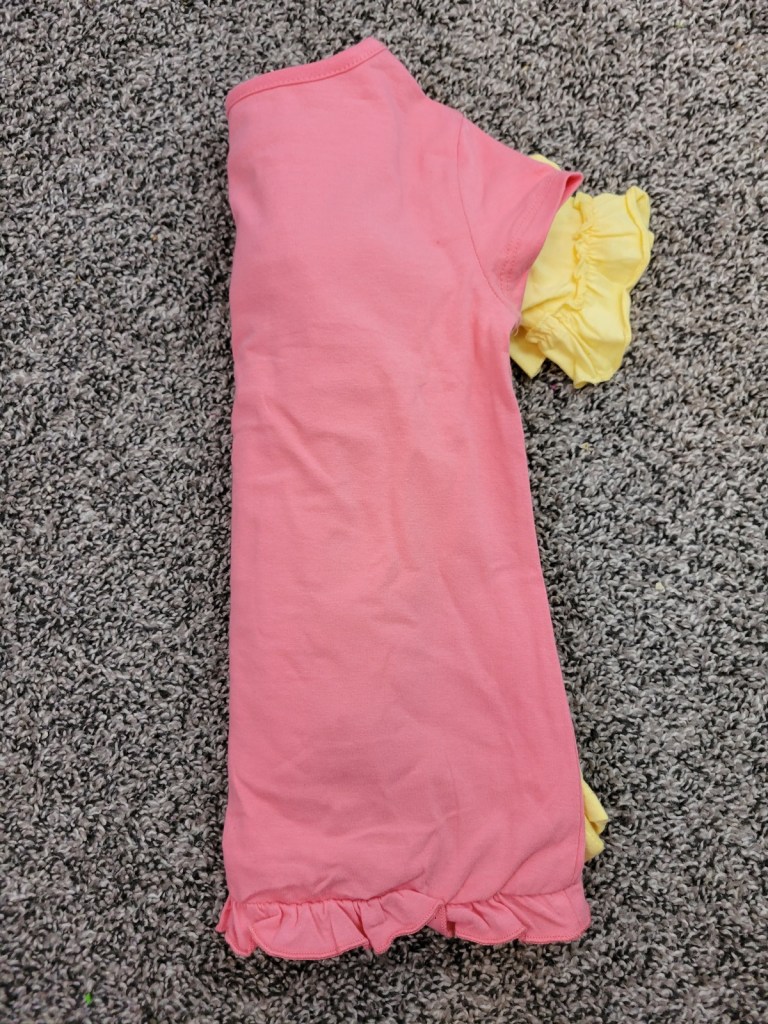
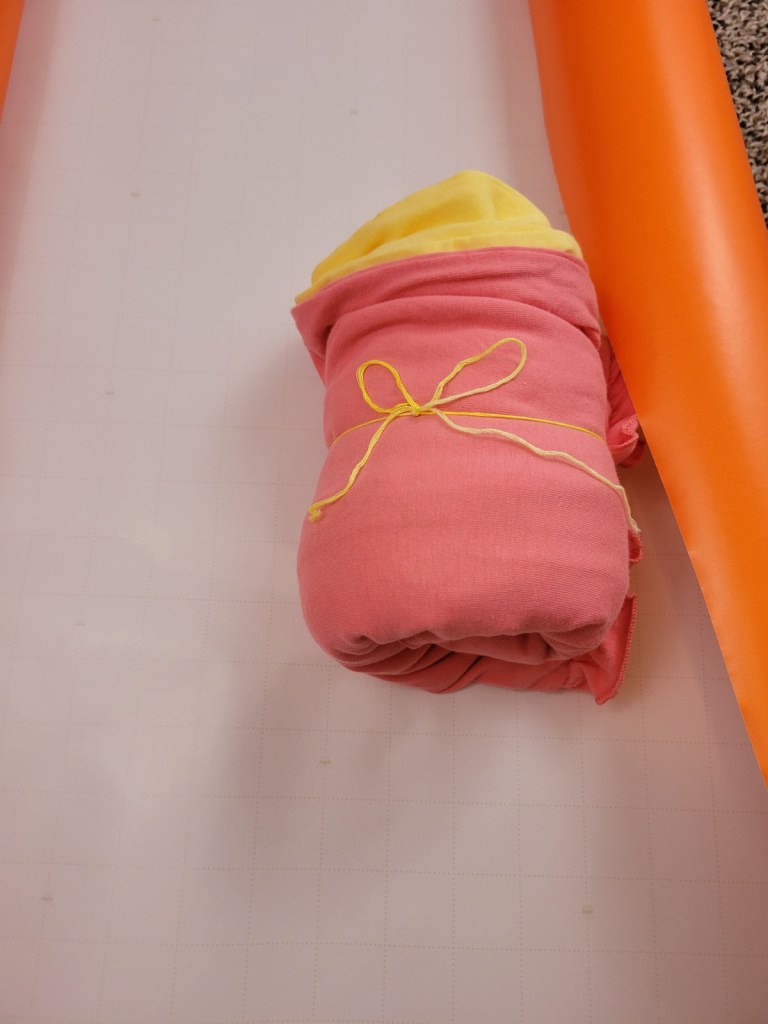
- First, I folded all the clothes on top of each other, except for one smaller piece of clothing, and rolled them up together. After rolling them I tied embroidery floss to hold them in the roll. With the smaller piece of clothing (in this example the shirt) I folded it.

- Next, I put the roll of clothes on the wrapping paper to measure how big I needed it to be. I added about an inch to the width of it so it would be easier to tape.
- I then moved the roll of clothes and cut it out using the whole height of the wrapping paper.
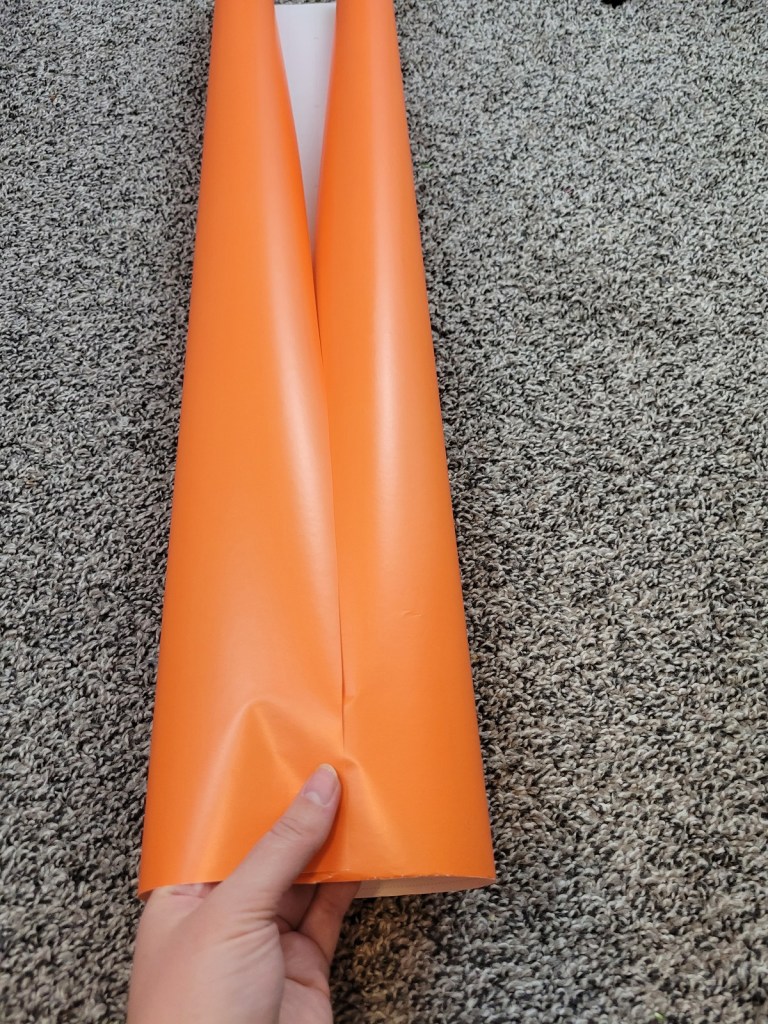
- Next, I rolled the wrapping paper width-wise and taped it to form a tube.
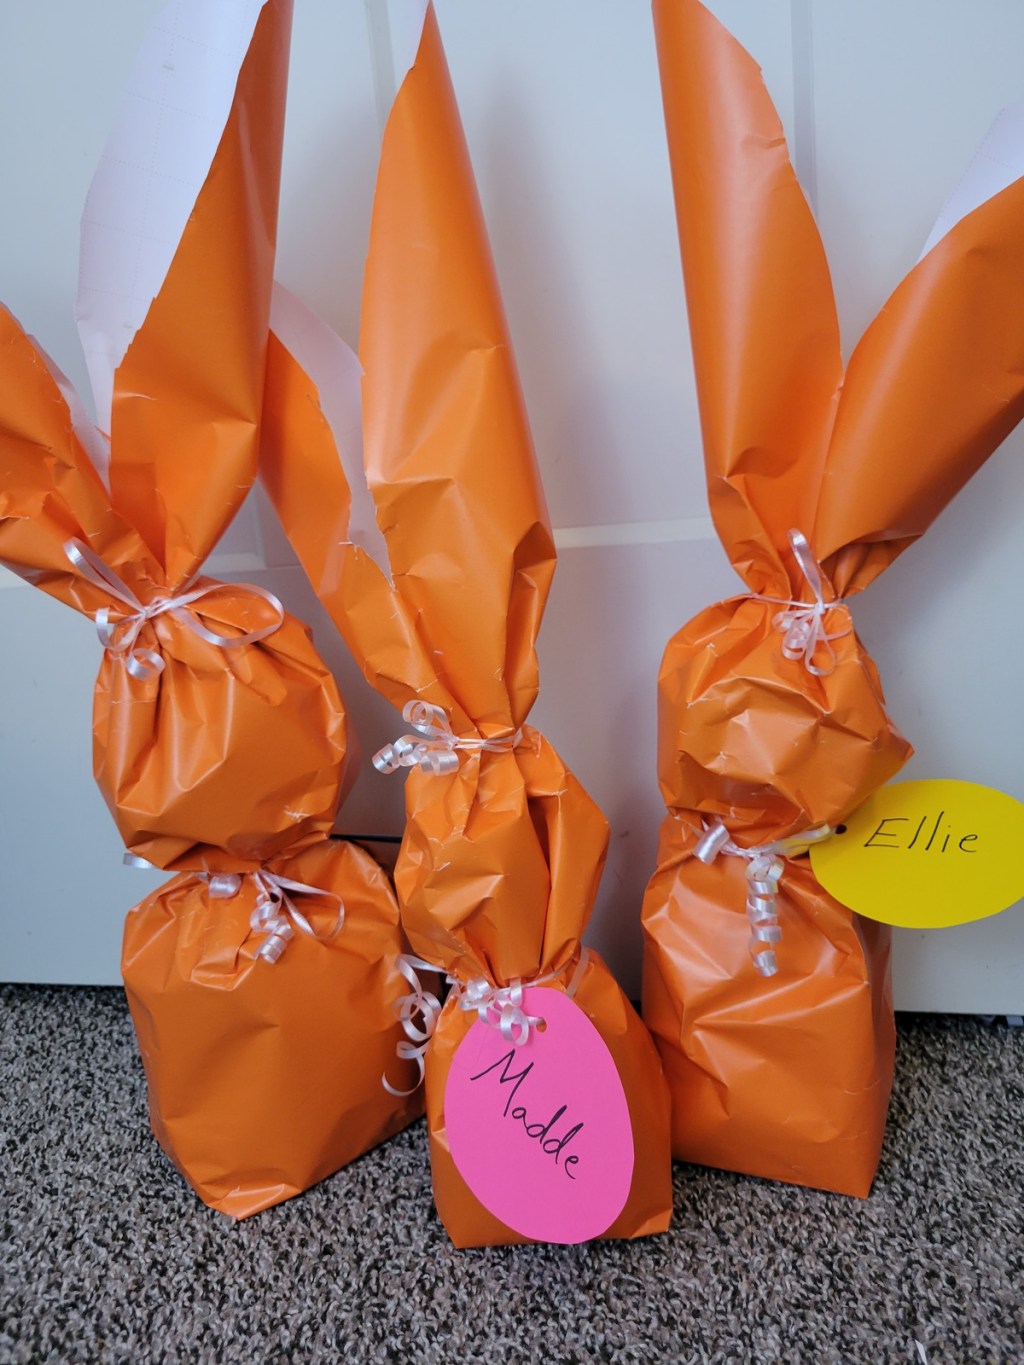
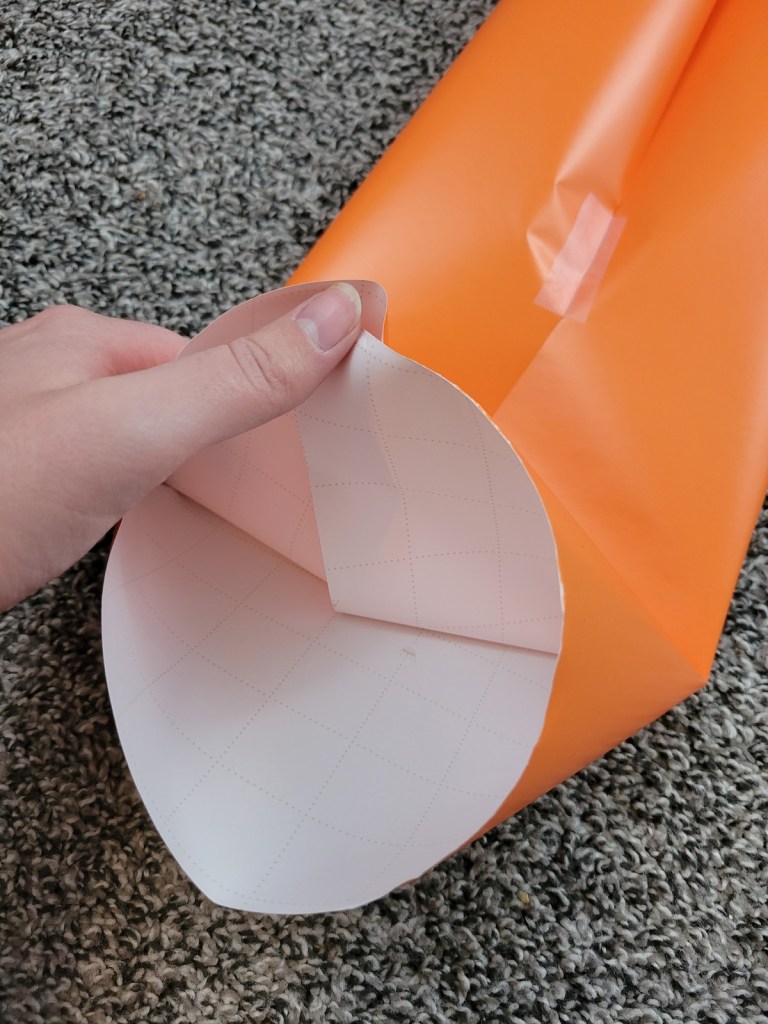
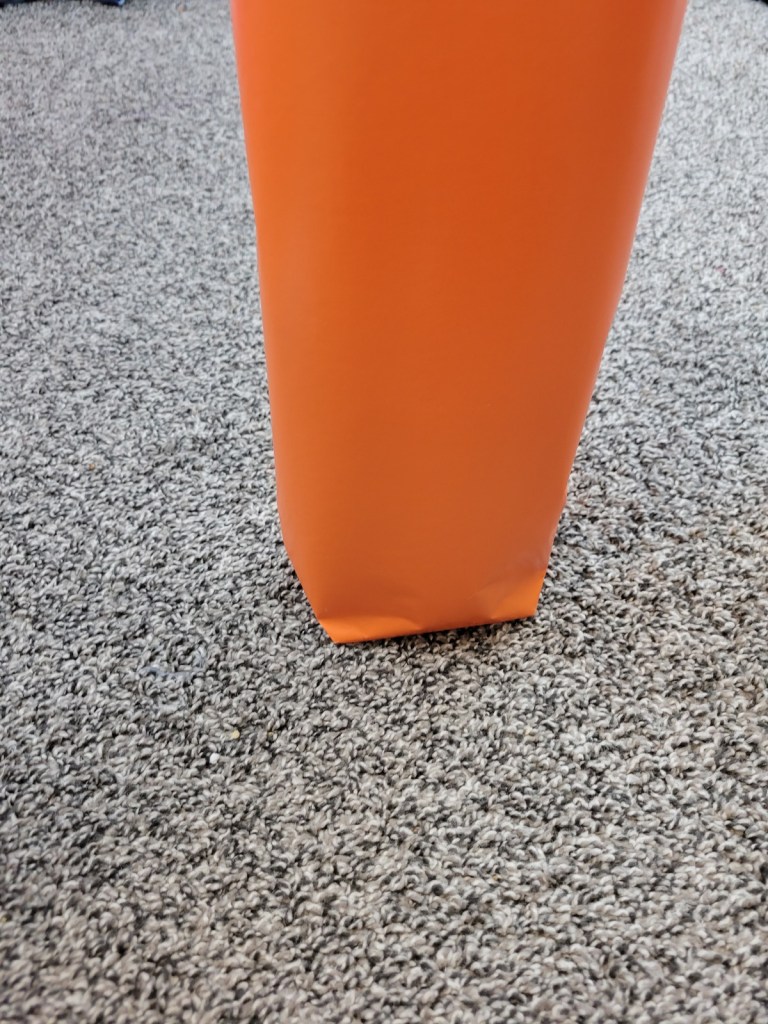
- At the bottom of the tube, you grab the top of the circle formed, and fold it down about 3 inches from the base
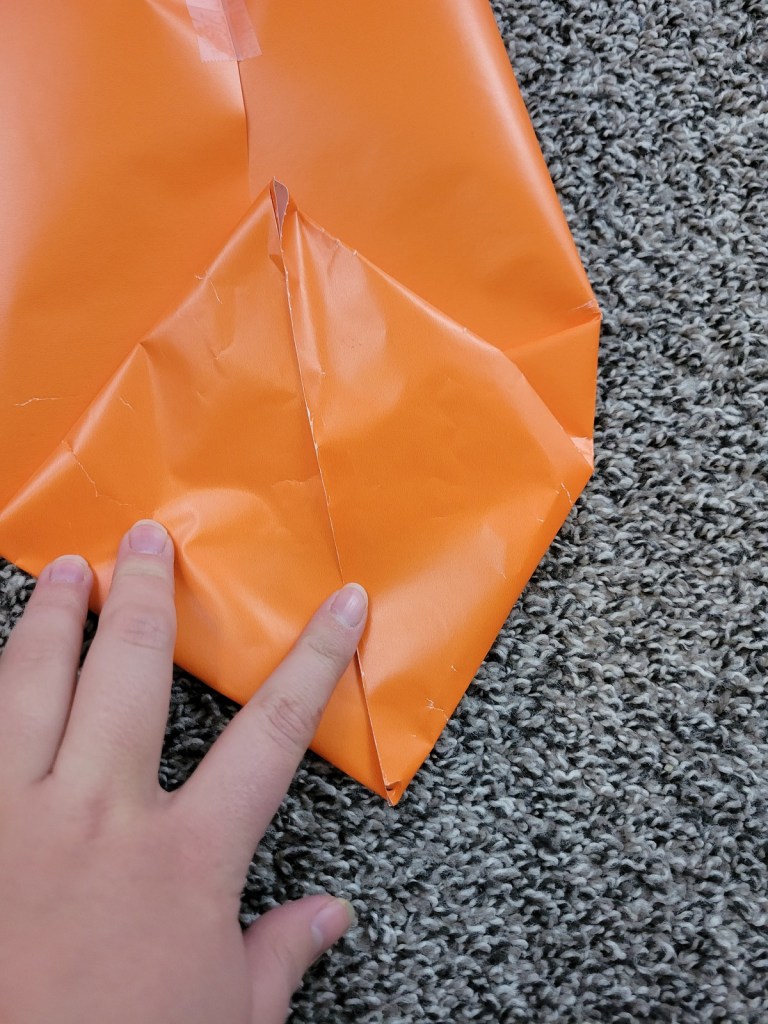
- When it is folded flat it will fold together to form a diamond.
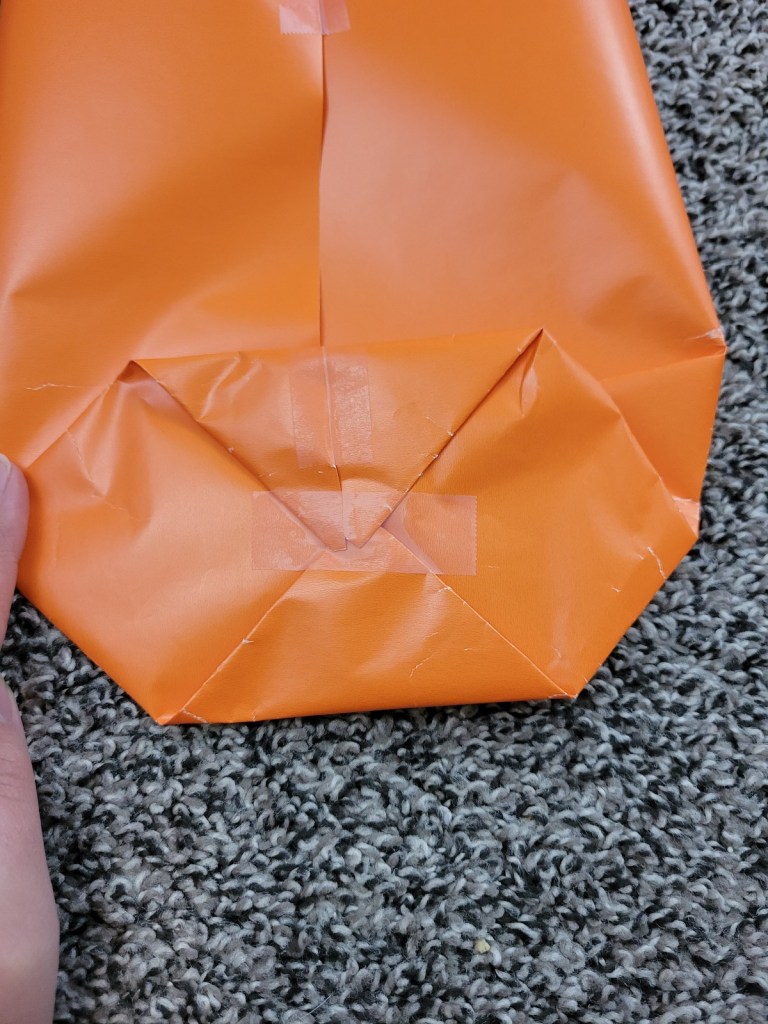
- Once in this formation, you fold down the top and bottom corners and tape them. This will keep the bottom of the tube closed.
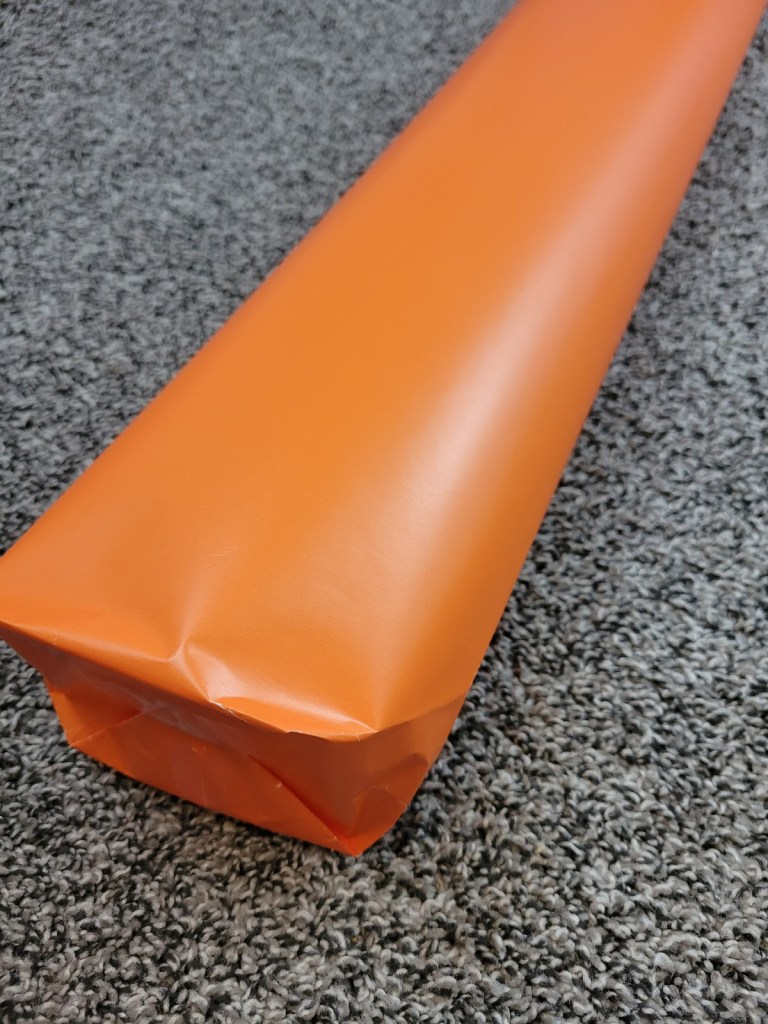
- Next, sit the long tube upright, and push the bottom so it can stand on the ground.
- Insert clothes roll.
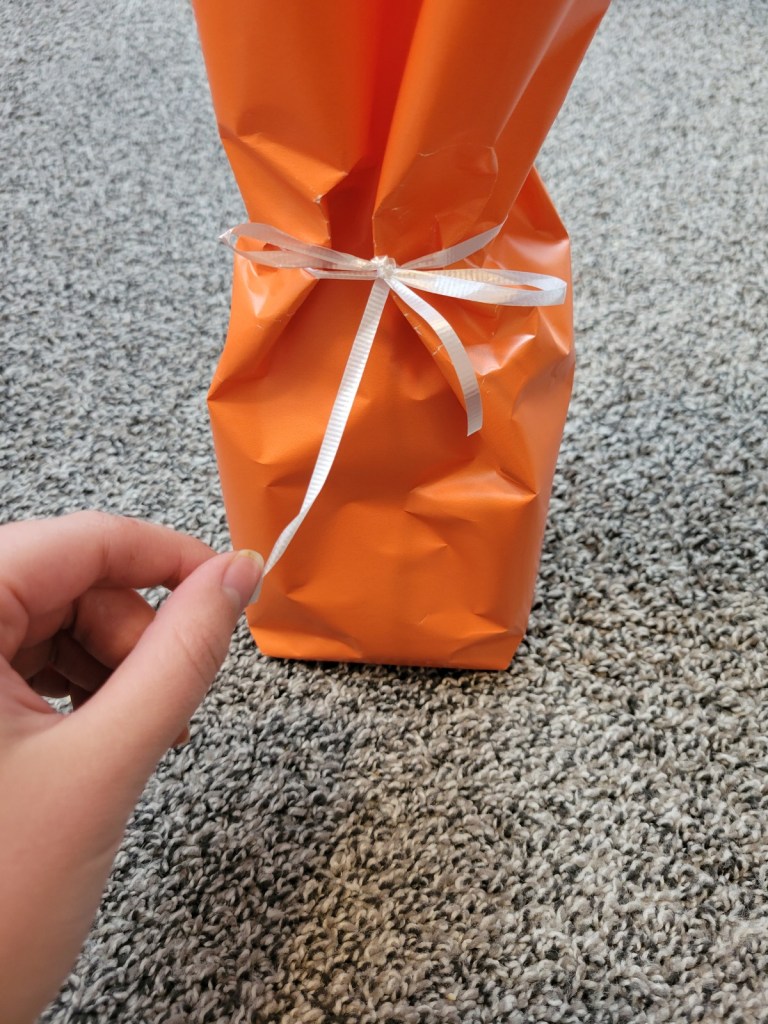
- Once the clothes roll has been inserted, use a curling ribbon to tie off above the roll. This forms the neck of the bunny.
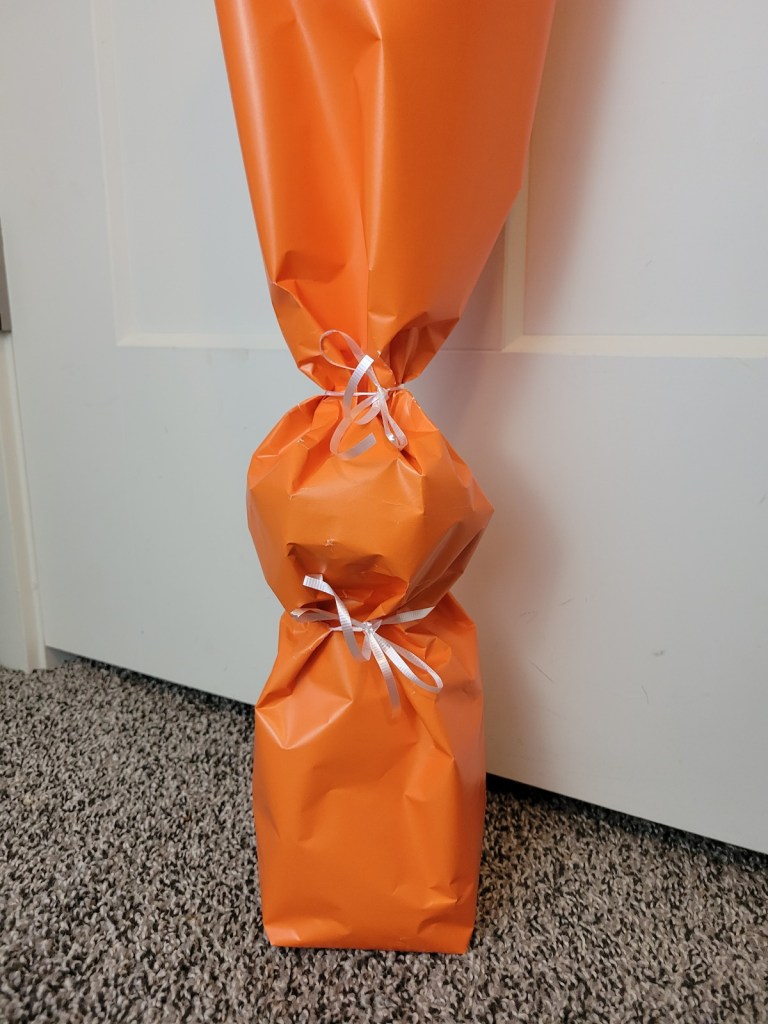
- Once the curling ribbon is tied, insert the folded shirt (or smaller piece), and tie it off above that piece to form the head.
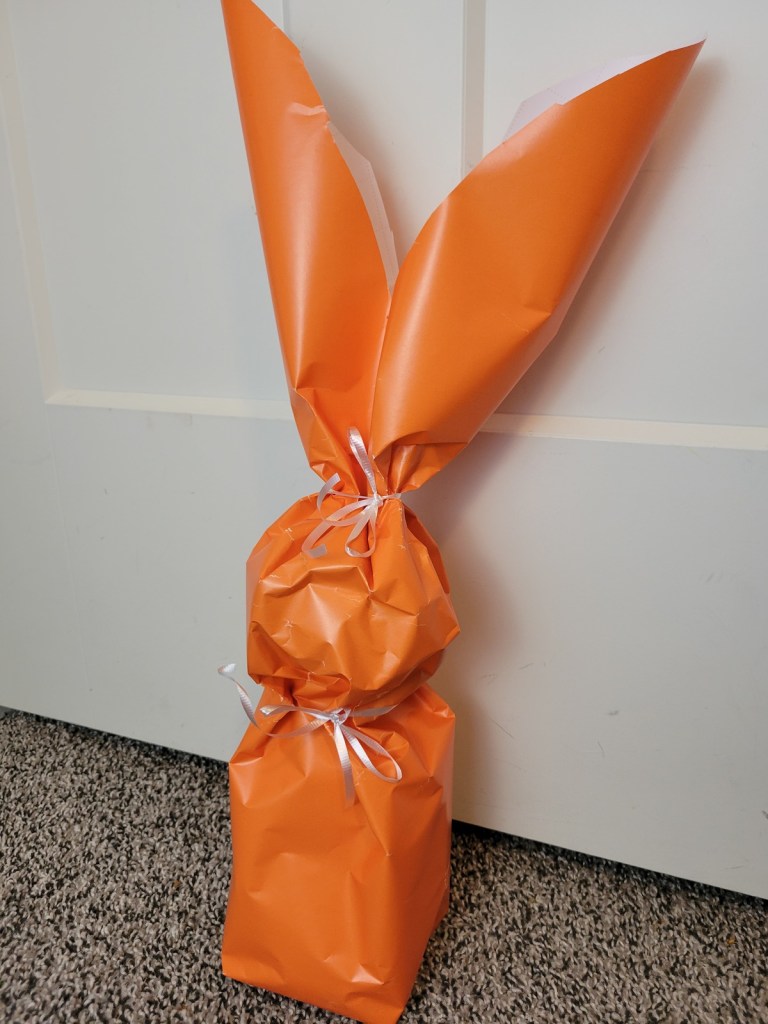
- The next step is the ears. I found it easier to leave the bunny standing and just cut down the middle of the tube using my scissors to form the bunny ear shape. If freehand isn’t your style it would be easy to draw an outline of the ears before cutting when the bunny is laying down. I would however recommend only cutting down the middle so that it stays structurally sound.
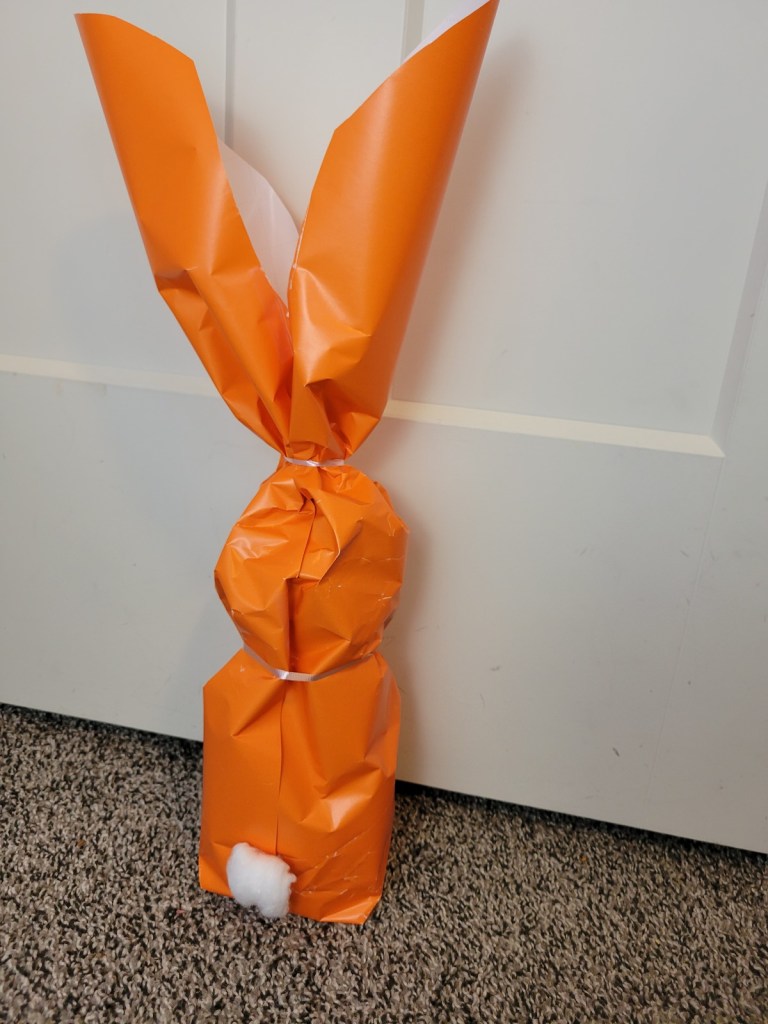
- The last steps were all cosmetic: Hot gluing a cotton ball on the back for the tail, curling the curling ribbon, and adding name tags. You can add a face if you would like, but for me a face makes or breaks a project and they are not my strong suit.
This was probably the most creative I have ever wrapped anything, and I have to say, it was fun pushing myself creatively. Can’t wait for my next creative problem needing to be solved

One response to “Bunny Wrapping”
Thank you for sharing!
LikeLike