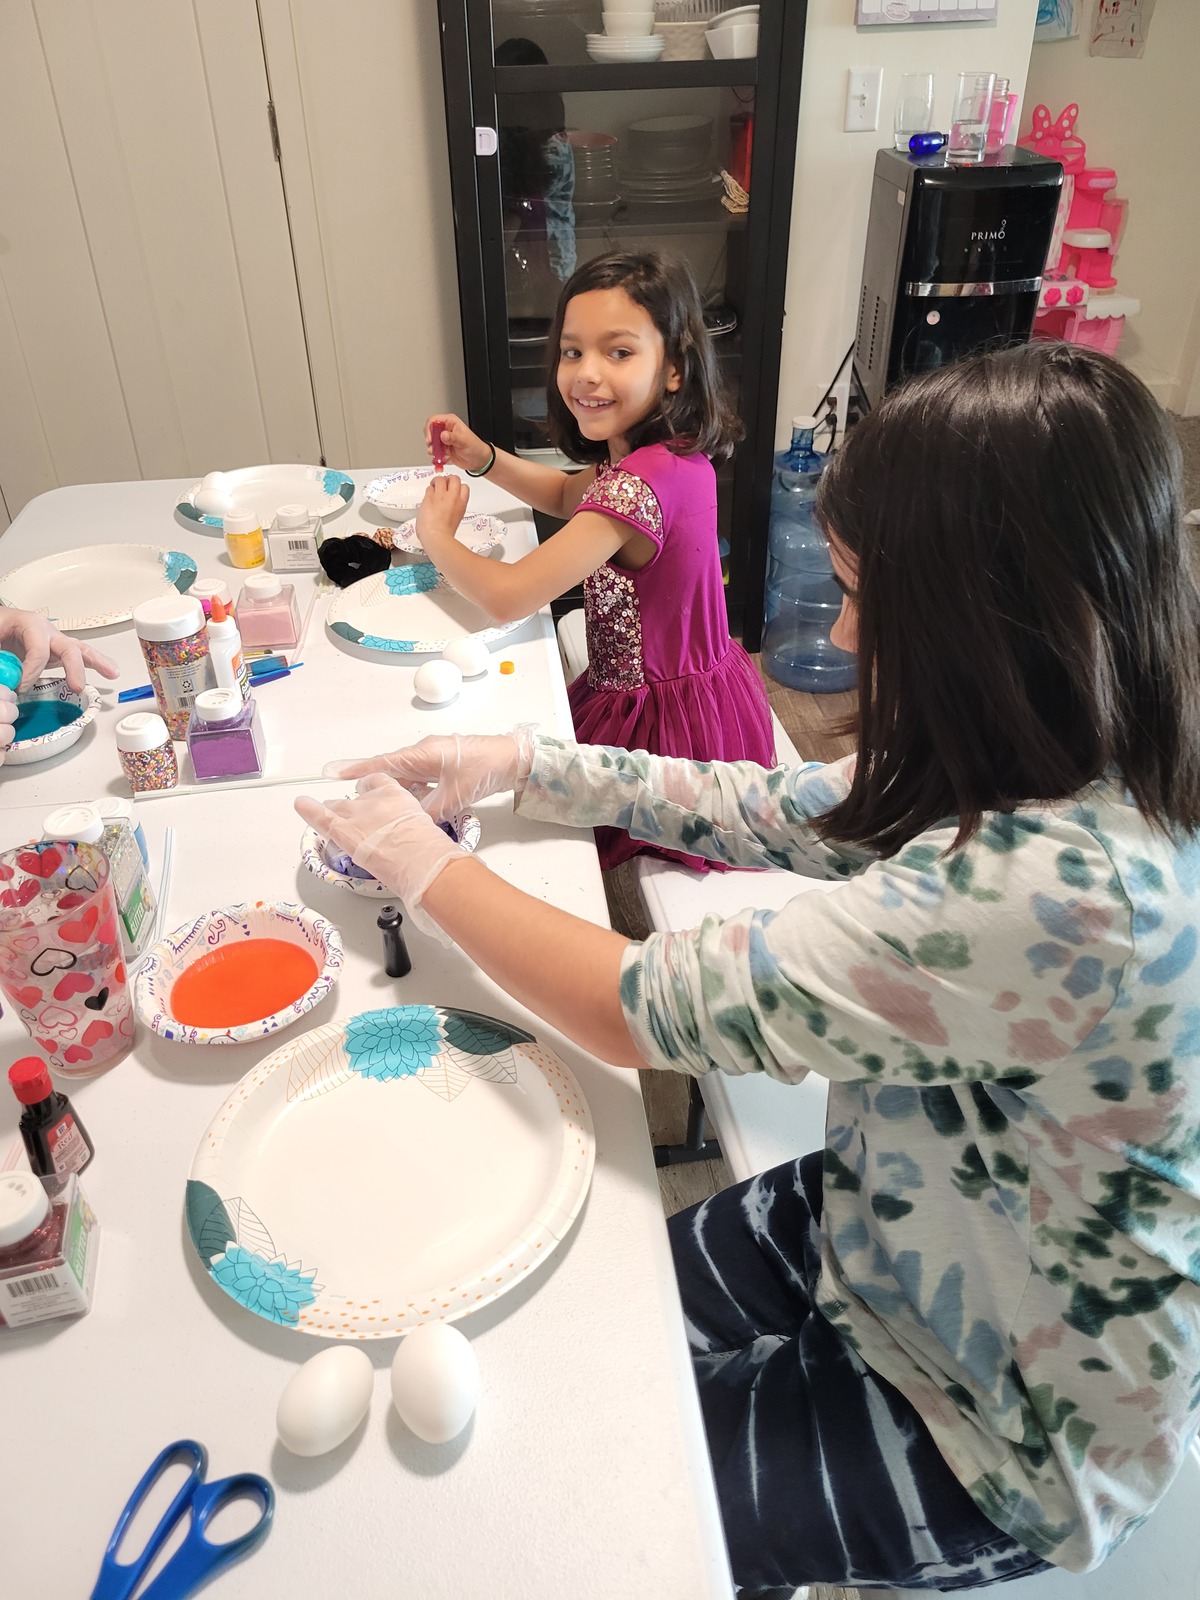
I learned that the tradition of decorating eggs goes back to possibly before the 13th century. Did you know that? I was in shock that it has been going on for so long, but one thing about it is people are constantly coming up with new ideas on how to decorate eggs. We may not have done all of the ideas justice, but this year we decorated our Easter Eggs based on the inspiration we have received.
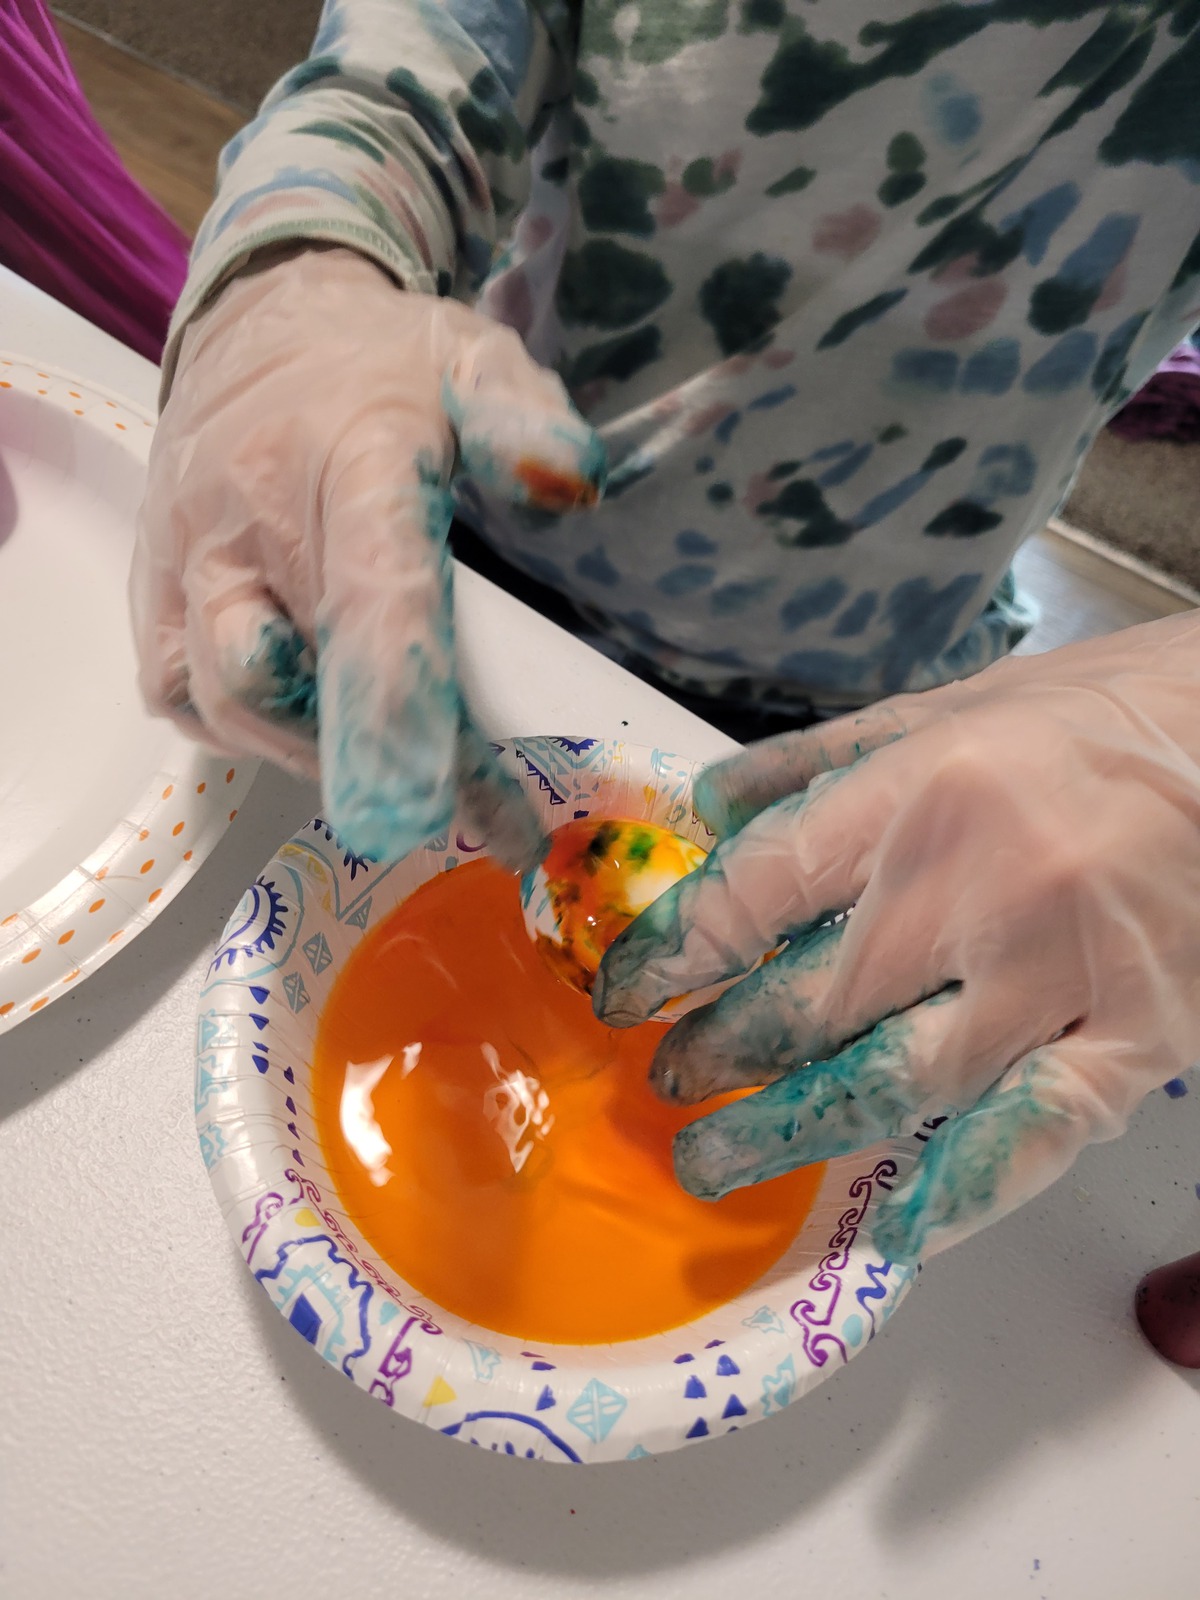
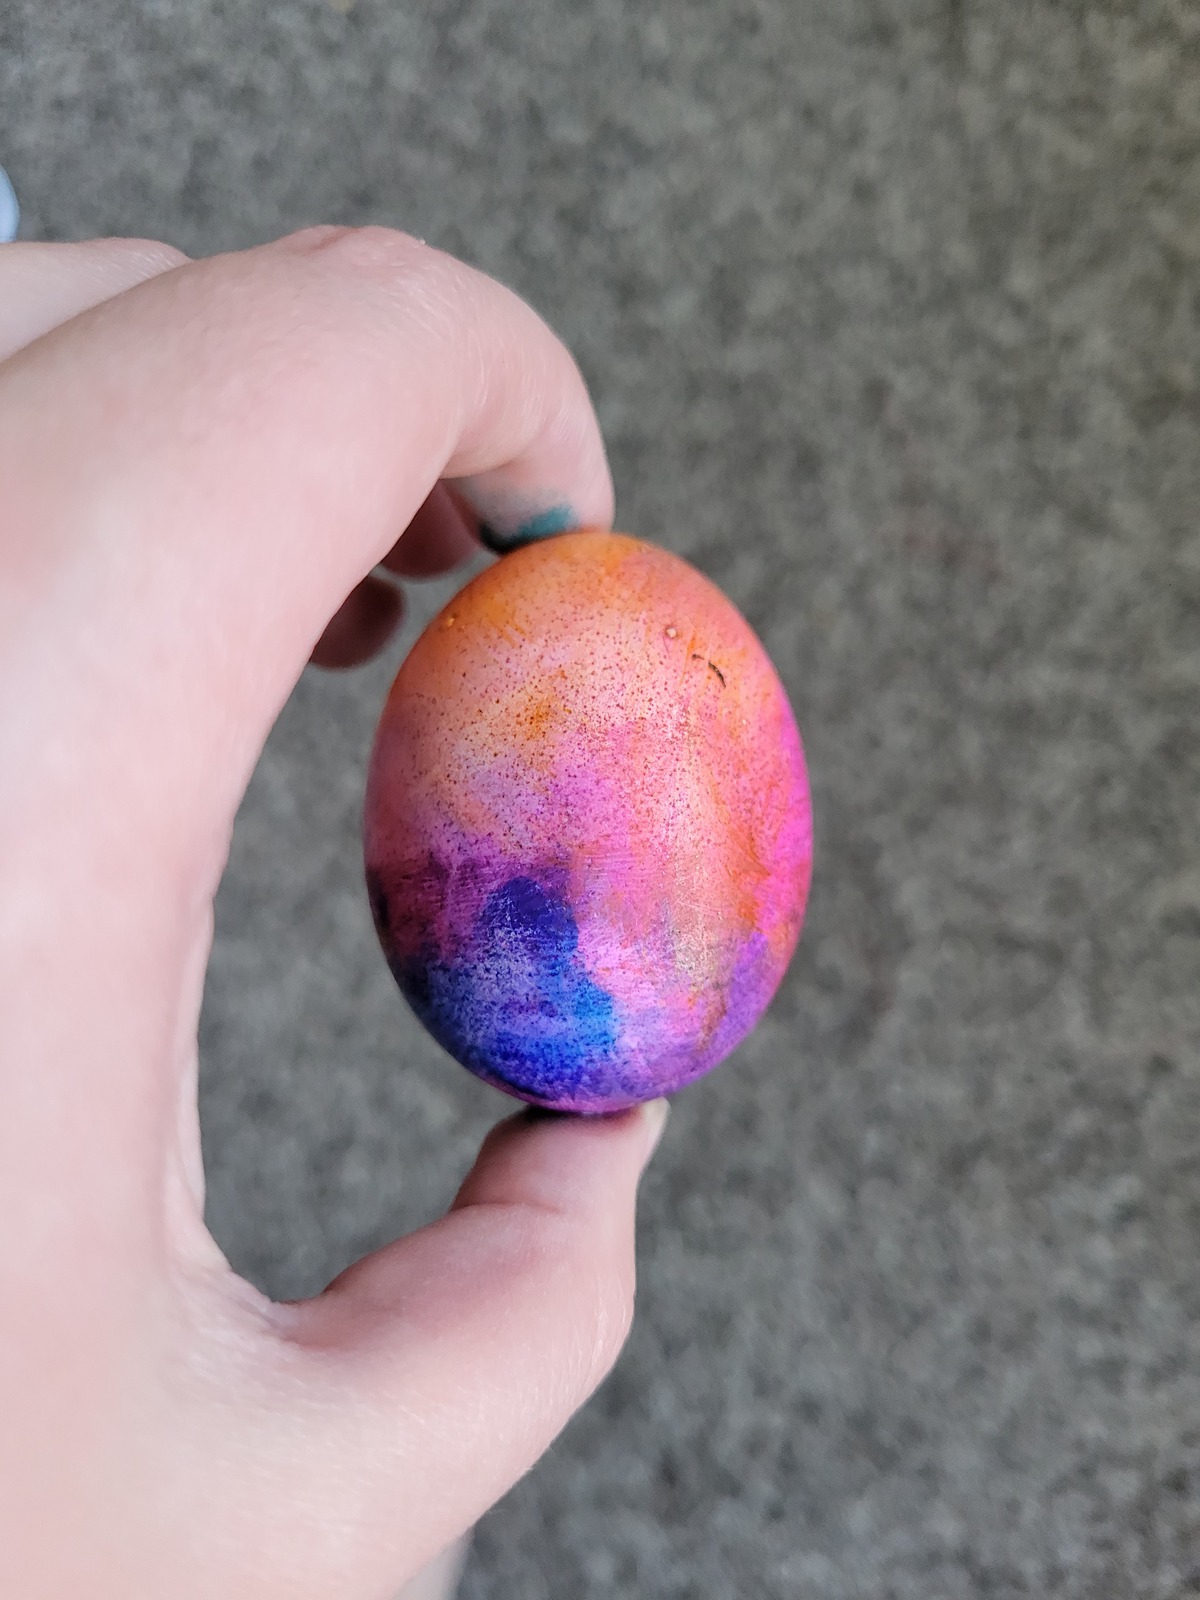
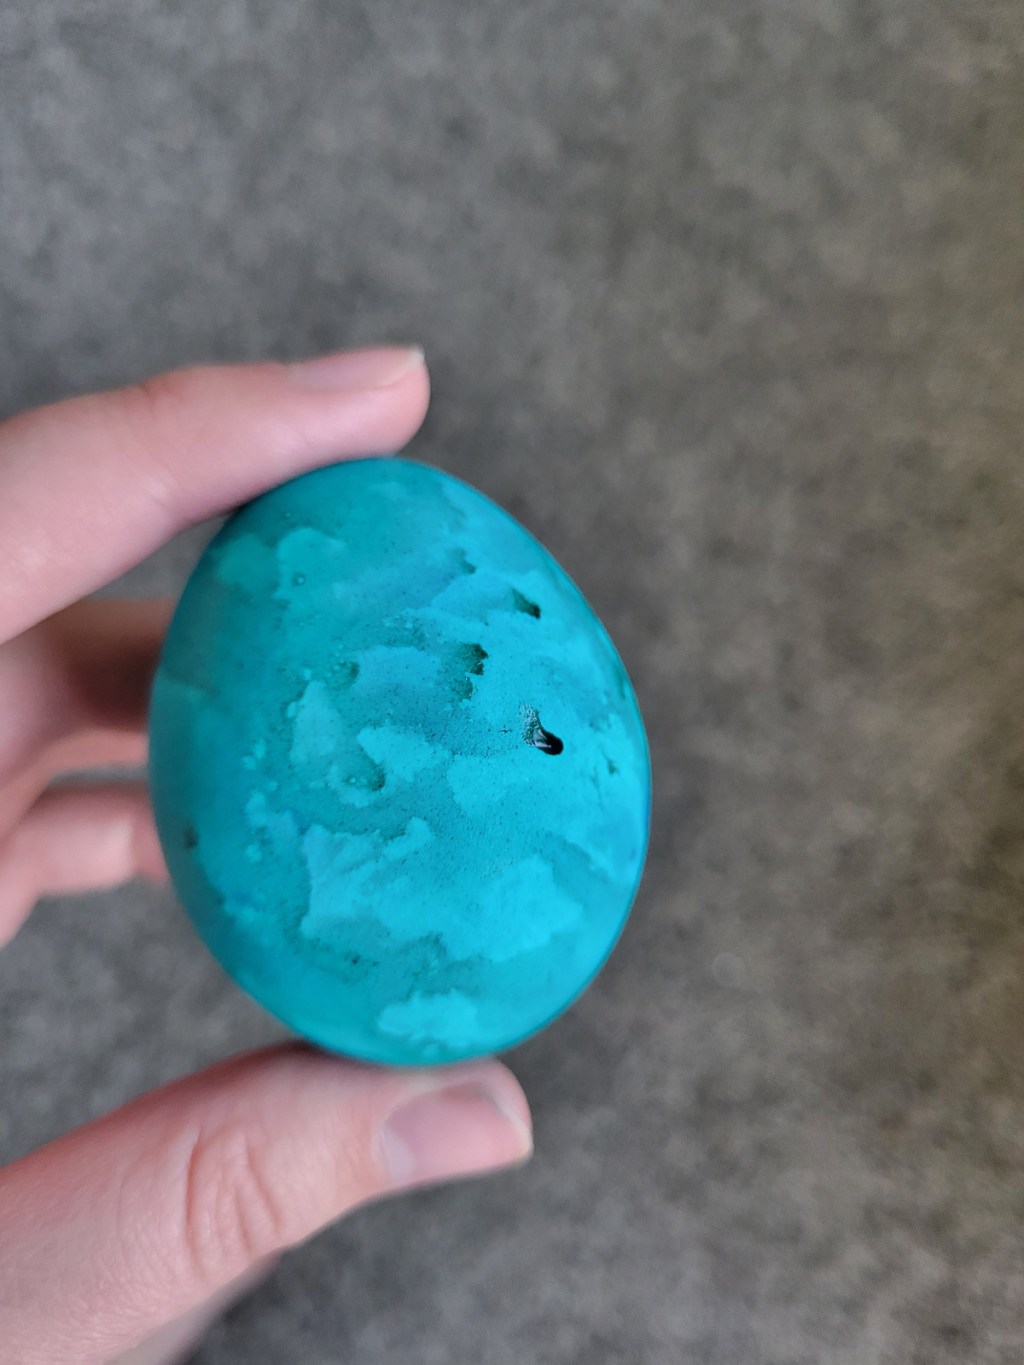
Before purchasing a dye kit from the store, I was curious if I could dye the eggs using plain food coloring. We constantly have it on hand right now because sometimes giving my young kids a “colored bath” is the only way to get them in without having a meltdown, so why spend extra money if you don’t have to. Also, you can’t really dip hollowed-out eggs in dye since they float. Luckily for me, it worked great! We put paper bowls full of water under the eggs while dripping food coloring on them, and we had a bowl for each color. They were amazing just putting the drips on and letting them dry, but if you wanted the colors to look more blended just putting them in the water spread the color nicely. They did turn into an art project of letting them dry before adding additional colors, if you didn’t want them blended that is. The waiting was definitely my kid’s least favorite part of the whole project.
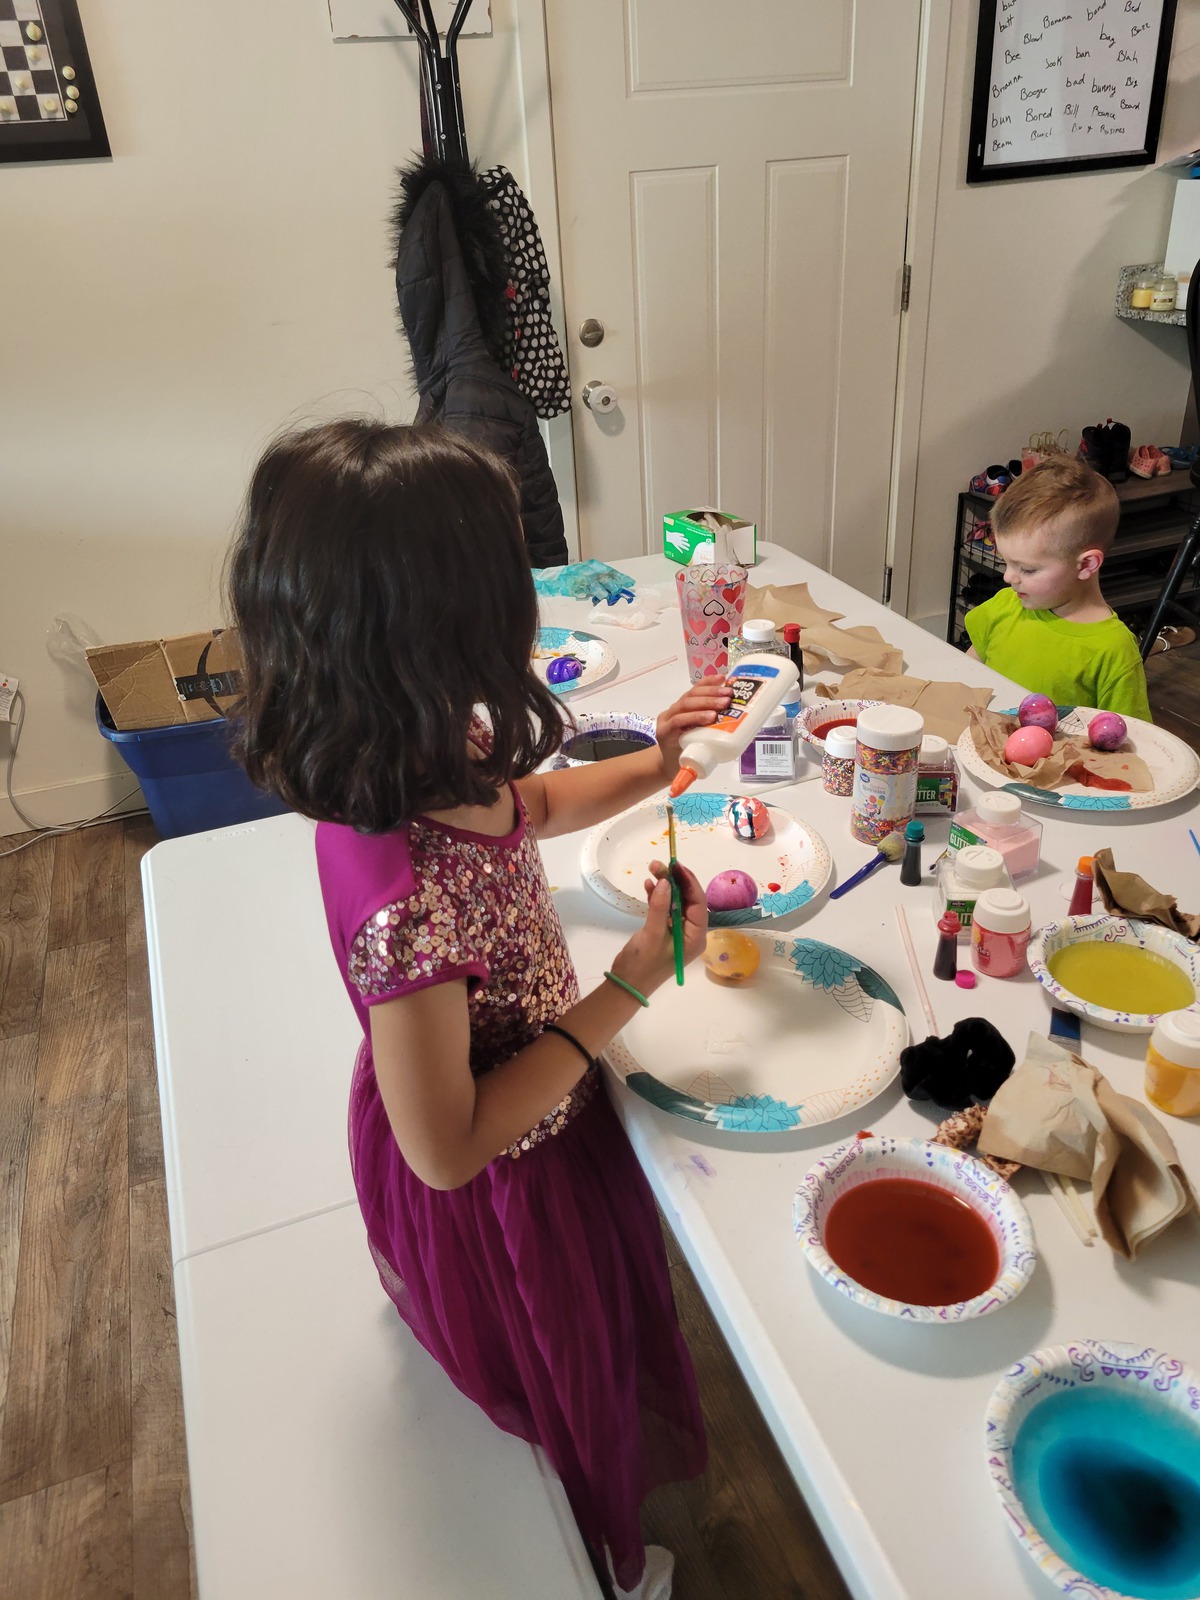
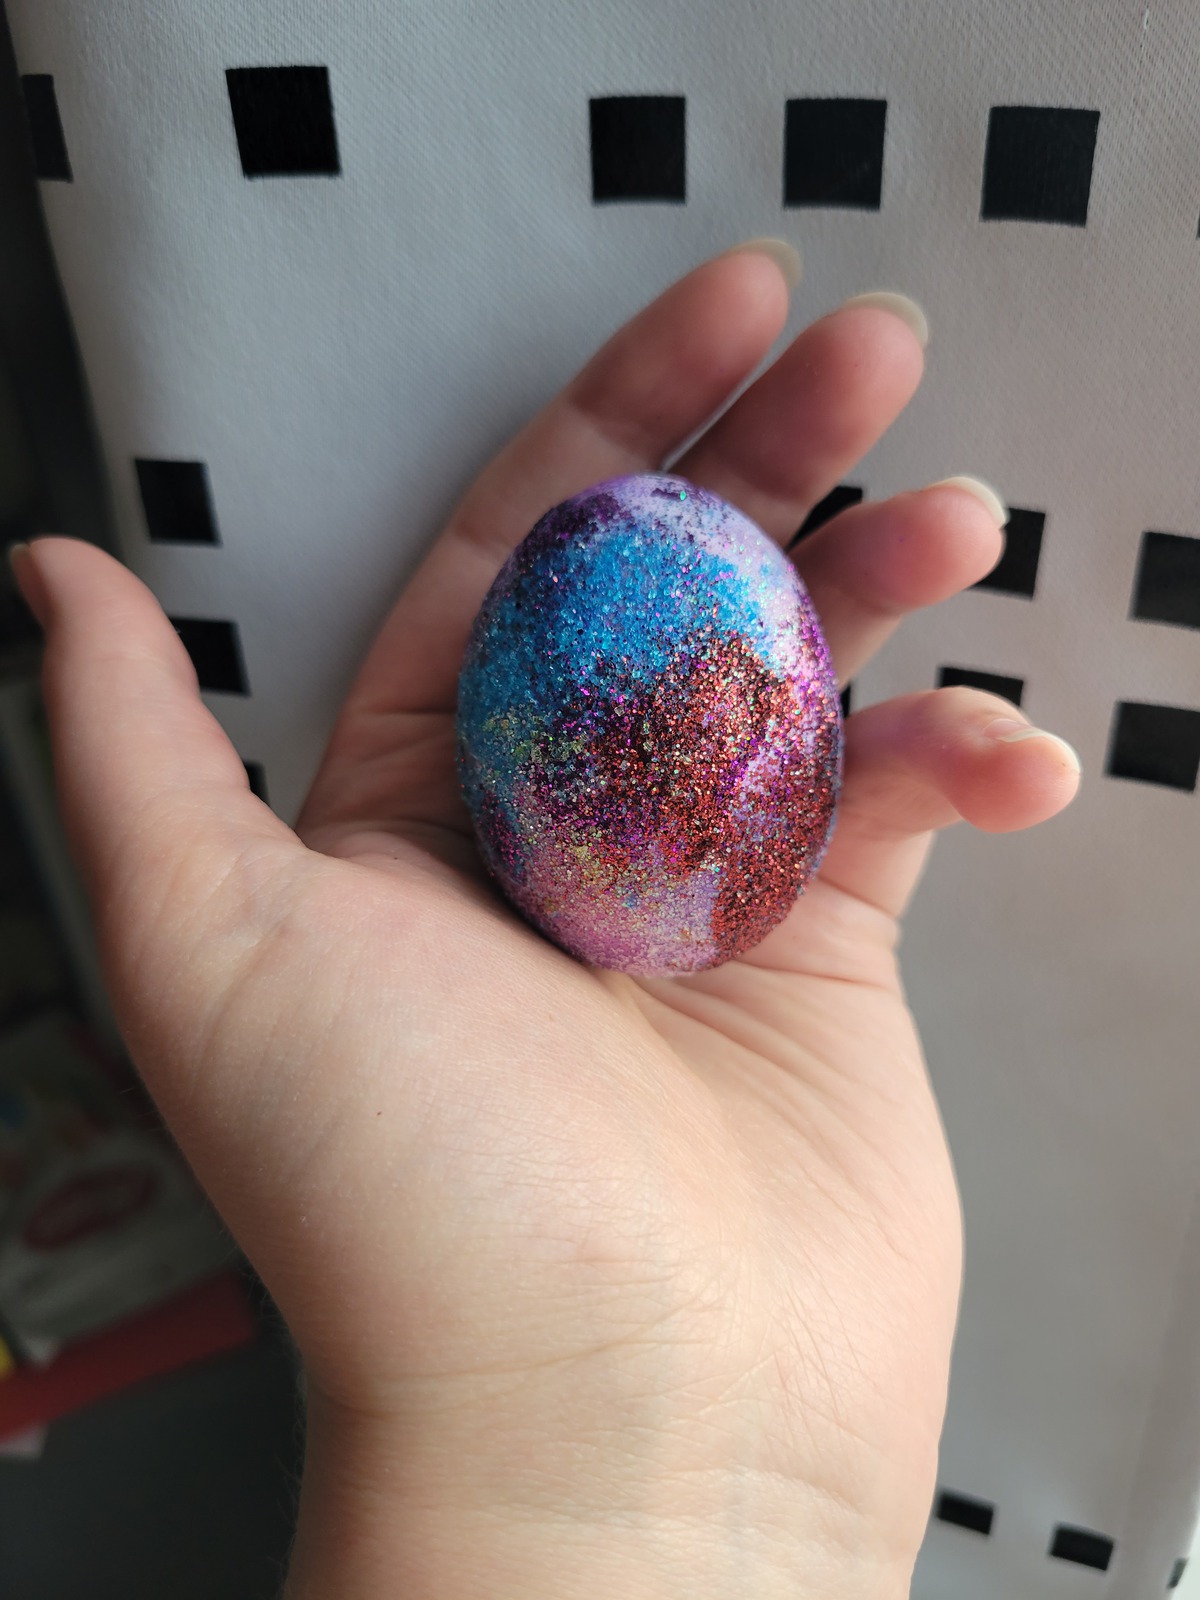
Dying eggs this way was fun. When I do this again, I will be finding a better way to let them dry, such as putting them on a sucker stick; because with them just sitting on a plate to dry, spots formed where it was obvious what side they had been laying on. After the eggs dried, we applied washable glue to the eggs using paintbrushes and then applied sparkles and sprinkles. I left the decorating mainly up to the kids, but you can bet that next year I will be saving some eggs and time for me to decorate as well.